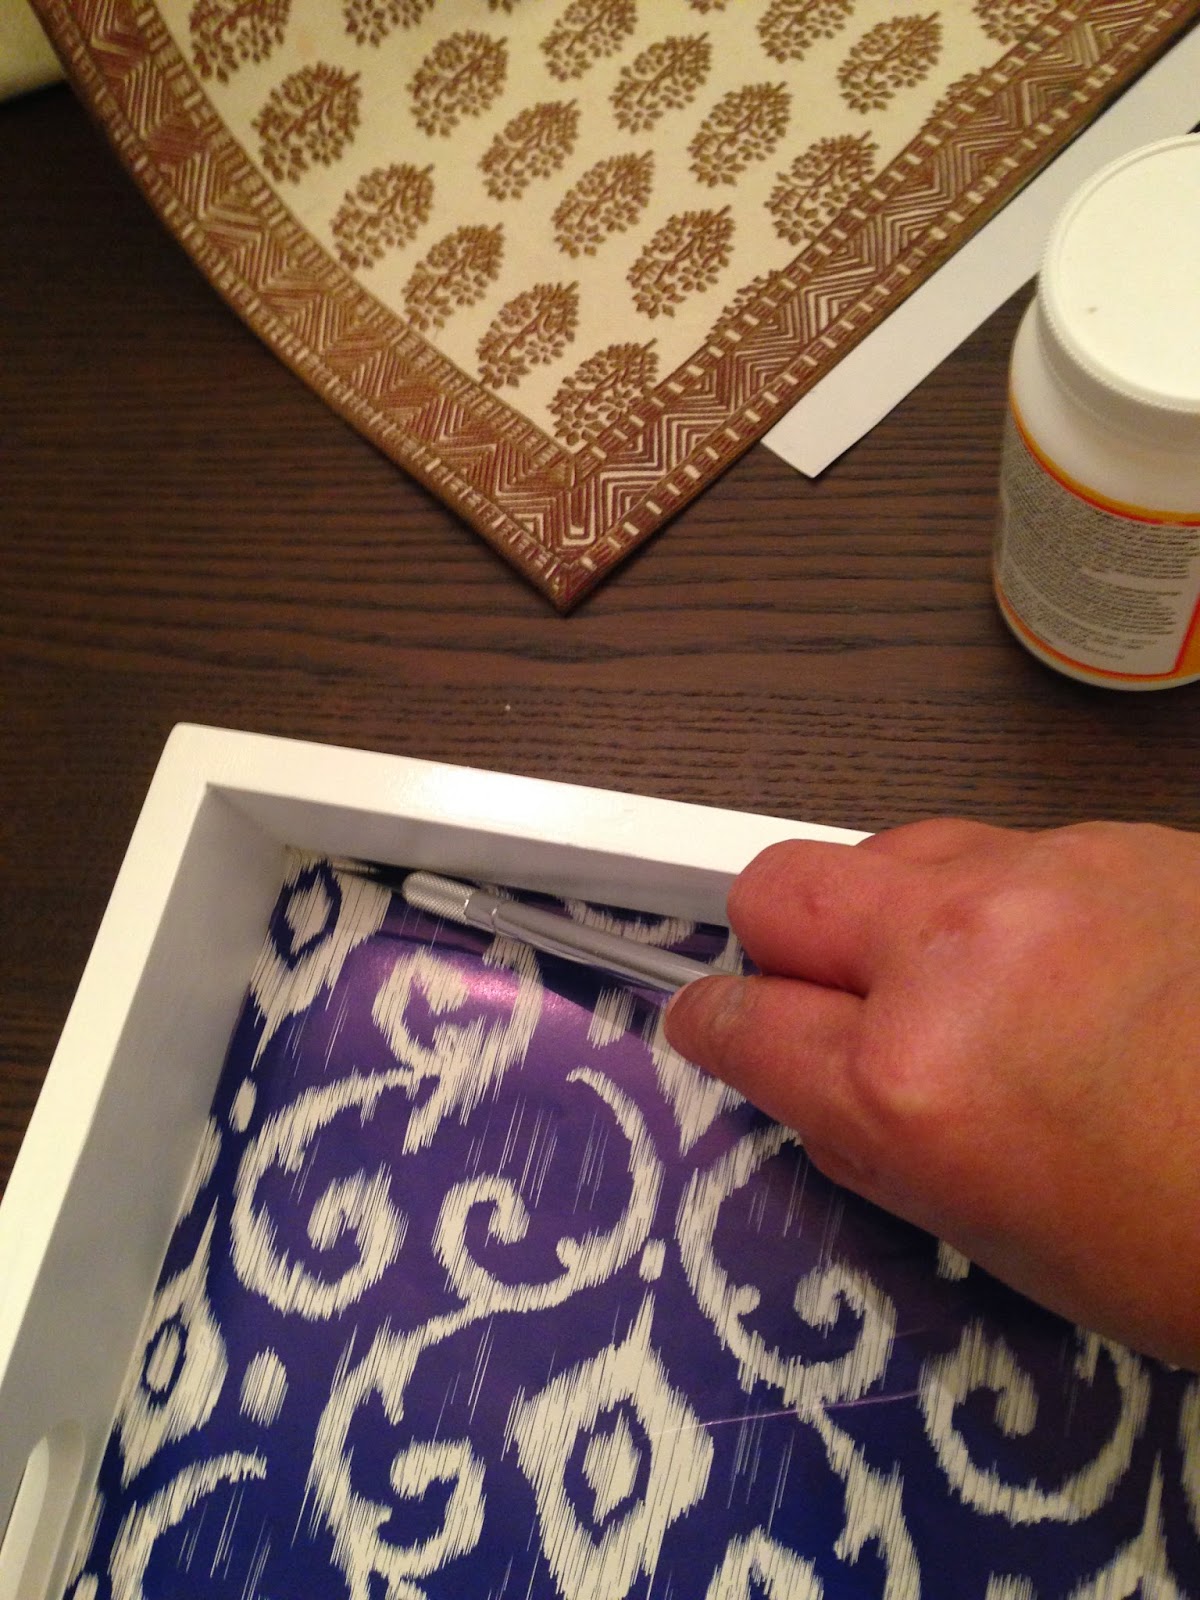
Yes, another tray makeover. As I had mentioned sometime ago, I have a tray in every room of the house. This one is from the family room.
I wanted to go with acrylic sheet to cover the paper on the tray similar to what I did for the tray on the dining table.
This tray is for the family room which I am sure will be abused a lot with remotes and other stuffs and cause scratches to the acrylic. So I used the matte finish Mod-Podge to glue the paper to the tray.
Started by pouring a small amount of the Mod-Podge on the tray.
Using a foam brush, I spread the liquid all over the tray where the paper was going on.
Then working from the edge, I placed the paper on the tray.
There were few bubbles, I kept pressing the paper to the tray and found the bubbles was giving texture to the papers.
I did not remove all the bubbles.
Next step was, pour some more Mod-Podge on the top of the paper. This is to seal the paper so it does not tear.
The paper will look like this but do not worry, it will dry to clear look.
Let it cure for couple days and it will look like this.
The gift wrapper is not navy blue but lighter shade of it.
She uses this tray in her den to hold a candle, remotes and magazines. Such an easy tweak.
The contrast between the turquoise and the red is so perfect.
Have you done any makeover for your trays?
Have a great week ahead.
Reshma
Linking at:
http://www.thriftydecorchick.com/
The ottoman in the family room also serves as coffee table and required a tray to place the cups or glasses. One day I found this blue and white ikat print gift wrapping paper roll at TJ Maxx. During that time, I was working on the family room decor and my brain was fed to watch for blue and white. I had to pick it.
That weekend, I went through my pile in the garage for a tray. I had picked this sturdy black square tray years ago from the clearance section
of Ross for few dollars. It was in nice shape
expect the scratches. I would have tweaked it even if it was in perfect shape.
I primed the tray with Rustoleum's primer and after it dried, I painted 2 coats of Rustoleum's white paint. I painted only the the sides on the inside and the outside.
After letting the paint dry for 24 hours, I measured the inside of the tray and cut the gift wrapper to measurement. Using an exacto knife I cut the extra paper.
I wanted to go with acrylic sheet to cover the paper on the tray similar to what I did for the tray on the dining table.
This tray is for the family room which I am sure will be abused a lot with remotes and other stuffs and cause scratches to the acrylic. So I used the matte finish Mod-Podge to glue the paper to the tray.
Started by pouring a small amount of the Mod-Podge on the tray.
Using a foam brush, I spread the liquid all over the tray where the paper was going on.
Then working from the edge, I placed the paper on the tray.
There were few bubbles, I kept pressing the paper to the tray and found the bubbles was giving texture to the papers.
I did not remove all the bubbles.
Next step was, pour some more Mod-Podge on the top of the paper. This is to seal the paper so it does not tear.
The paper will look like this but do not worry, it will dry to clear look.
The gift wrapper is not navy blue but lighter shade of it.
Now sharing a beautiful tray makeover that a sweet reader Kimberlie shared with me. She did a makeover for this simple wooden tray.
Kimberlie sprayed the tray a turquoise color to match her chair which she had painted the same color and used a wrapping paper from World Market to spice it up. She uses this tray in her den to hold a candle, remotes and magazines. Such an easy tweak.
The contrast between the turquoise and the red is so perfect.
Have you done any makeover for your trays?
Have a great week ahead.
Reshma
Linking at:
http://www.thriftydecorchick.com/


Reshma, you have mastery on tray makeover. This one turned out amazing. I hv blue ikat duvet in guest bedroom, this goes perfect with it :)
ReplyDeleteThank you Nayana. I think tray are easy to work on and can be used in so many spaces. I found this ikat gift wrapper at TJ Maxx.
DeleteHi Reshma,
ReplyDeleteHopped over here from Patty's blog! Love your tray makeover! Actually I am so excited to have discovered your blog :) I am taking my time enjoying each blog post :D
I just wanted to show you my version of the tray make over too... I have made a couple of trays - inspired by pinterest ofcourse.
http://yellowthinkinghat.blogspot.com/2014/02/tray.html
http://yellowthinkinghat.blogspot.com/2014/06/another-tray-diy.html
Again,
Love you blog - I am looking forward to reading more :)
Hi K, I saw both of your trays and you did an awesome job. The white and the orange tray is my favorite. Thank you for stopping by.
DeleteThe tray looks gorgeous!! very well done!!
ReplyDeletePurnima, Thank you. Appreciate your comment.
DeleteI like both your trays and the reader tray! One day when my kids are no longer running around using things like this as shields or sleds I'll make one too :)
ReplyDeleteTray as shield or sled is very creative thinking...:-). Thank you for dropping by.
Delete